Love travel? Take nice photos? Here’s how to decorate your whole house in a creative way that few people try: Photo collages in large, secondhand frames! Below are the instructions, accompanied by pretty photos of my finished products.
1. Get secondhand frames.
Gorgeous, large, high-quality frames can be purchased for less than $5 each at thrift stores, yard sales, fundraising bazaars, internet sales (watch out for Craigslist weirdos), and acquaintances. Note which kind of back opening each frame has. Some are easy to open, with tabs that just flip to allow a new photo to be stuck in. Others need a screwdriver and some intense fiddling around, but are still useable.
The worst kind (usually put together by professional artists and photographers) have a paper or cardboard backing that is actually glued on all sides to the frame. These are extremely difficult to use for collages, so don’t pick up those. Once you’ve made your purchases, wipe each down from the inside out. Get off those years of secondhand grime! Pro tip: Do not step on and shatter the frame glass once you’ve removed it for washing. Not that I’ve done this THREE times in the past year or anything…
2. Pick and print your photos.
Look through all your photo files on your computer and phone, both old and new, and upload them to an online printing service. I use a nearby drugstore that has extremely cheap but good quality 2-hour printing, and constantly offers coupons for 25% off. I printed one hundred photos that were an assortment of 4×6, 5×7, and 8×10 for under $25 with a coupon.
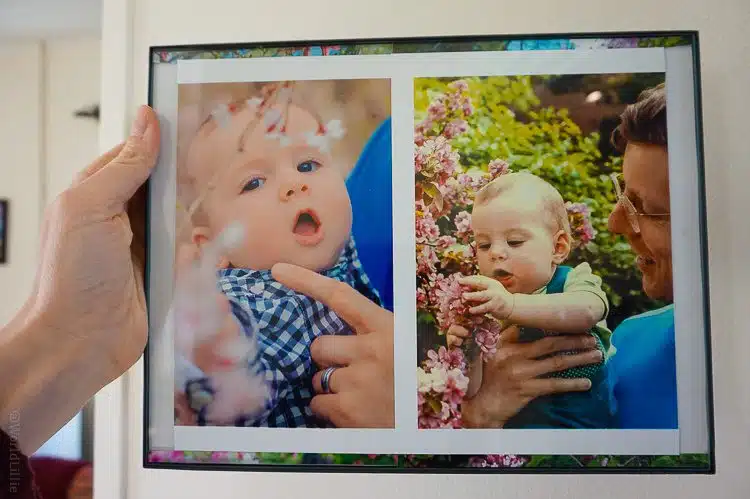
For the collages pictured here, 4×6 prints proved the most useful. Also, consider scanning and printing old photos of you and your family to juxtapose with current photos, as seen in the incredible collage, above, showing how my little baby takes after his flower-eating mommy! (For that collage I used 5X7 prints with built-in borders, and added my own flowered borders from other photos.)
3. Don’t forget to print photos with these characteristics.
Here are the categories of pictures you should print for these collages to work:
A) Both horizontally and vertically oriented pictures.
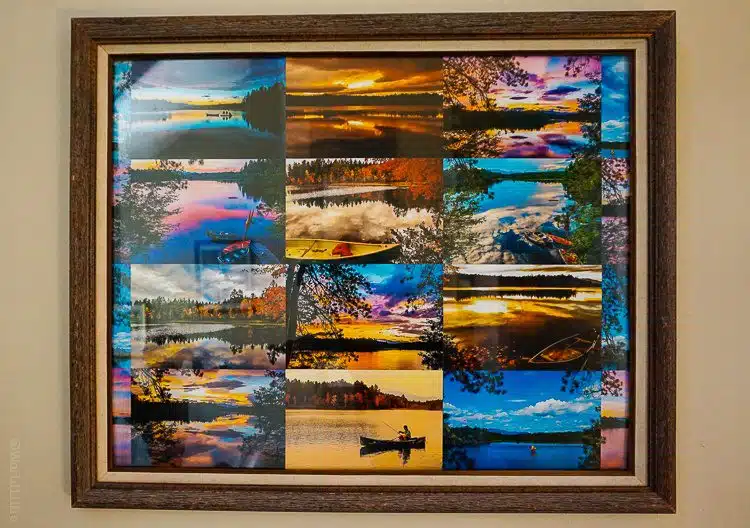
B) A range of colors, with an emphasis on the calming colors of blue (ocean, sky), green (plants), yellow (sun, clothing), and purple (dramatic sunsets).
C) Photos that are plain but pretty (ex: expanses of ocean or green mountains), which you wouldn’t feel heartbroken about cutting up, as you will soon see how they will be used for border filling.
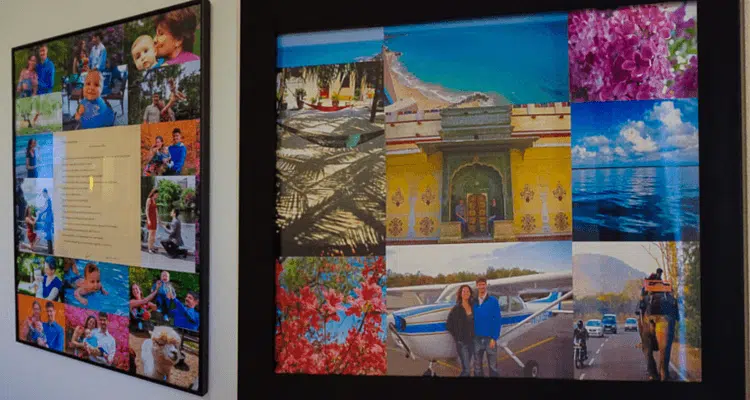
D) Here’s another option: Consider adding documents like special poems to a collage, as exhibited in the photo to the lower left, directly below. That poem was given to us at our wedding, so we surrounded it with colorful pictures of family travel (plus one alpaca) and hung it in our dining room. Poems on their own are much less exciting to look at than poems surrounded by photos!
4. Place the photos.
Open a frame. It should have a thin piece of paper or cardboard the shape of the whole rectangle that you can use for a photo base. If not, cut some paper to the frame’s dimensions. On this paper, begin to place your photos using thin double-sided tape as adhesive. (Single-sided tape and glue become lumpy and warped.) In order to fill the entire frame, you will need to either cut or layer photos. It’s like a puzzle!
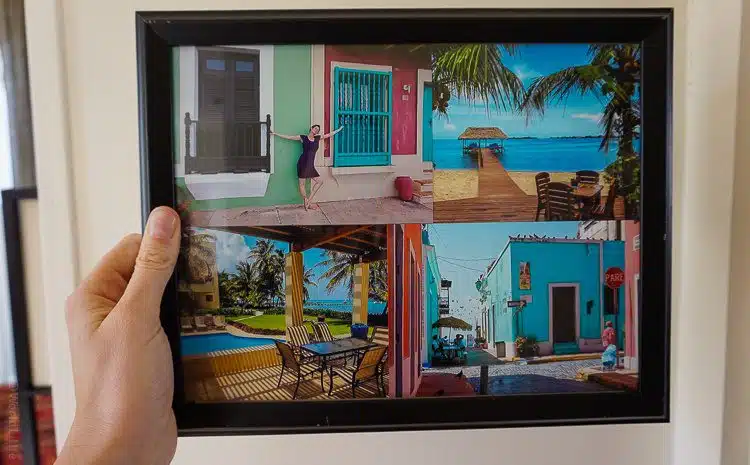
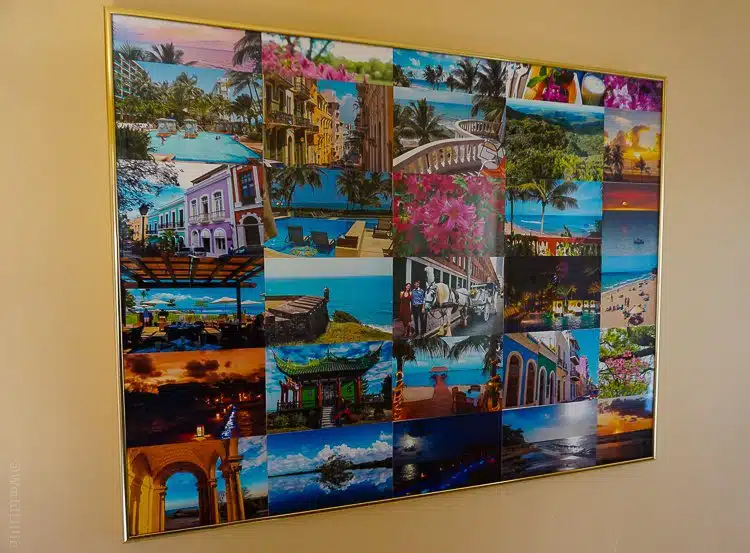
Place them without taping first, so you can play around with color and mood combinations. Each framed piece should elicit a specific feeling. For example, the photo below is in our bedroom, so it’s meant to evoke relaxation and happiness through photos from our Belize Honeymoon, Hawaii Babymoon, Puerto Rico vacation with baby, horse and carriage ride (sorry — I have no article about that awesome date!), Newport, Rhode Island trip, and Boston flowers.
Remember how I told you to print photos that you’d be fine with cutting up? Notice in the photo, below, how I used flower, beach, food, and sunset photos to fill the small open patches between the featured pictures.
5. Match the mood when you hang the collages.
Once you’ve taped down the photos and closed the frames, decide where to hang them! Although color scheme is one consideration, also make sure to match the mood of the collage with the room.
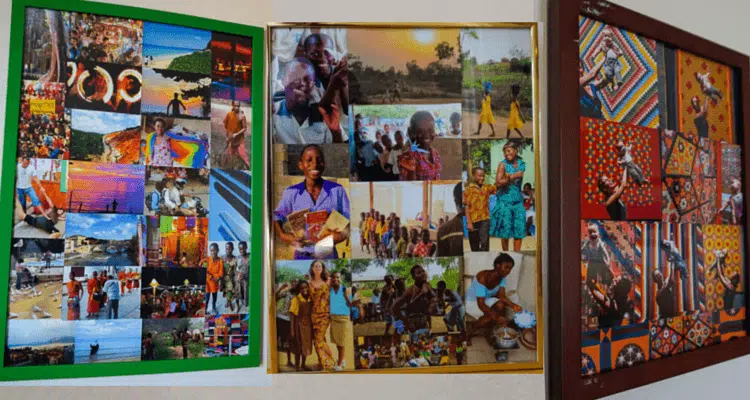
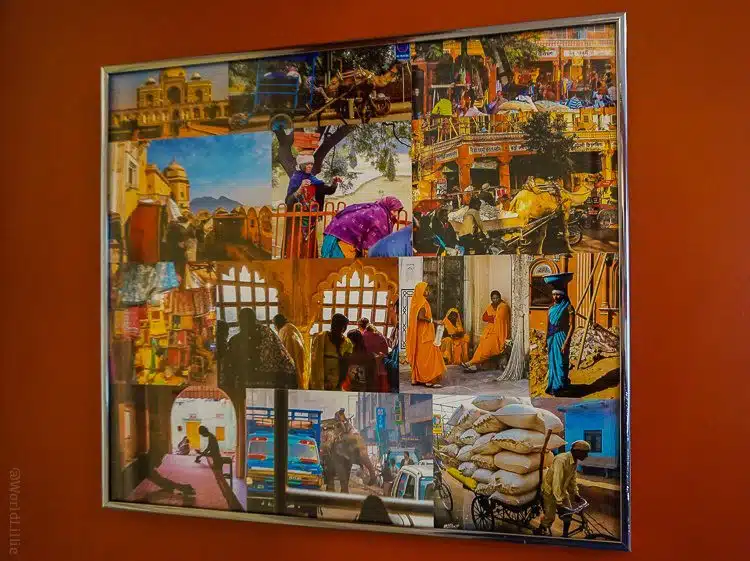
Each photo gives me a certain feeling based on the memories (or in the case of my obsessive blogger self, articles) I associate with it. The collages below show the vibrant energy of Thailand travel, Teaching in Ghana, and the Boston Museum of Fine Arts Quilt exhibit, so I’ve placed them all around our exercise room!
There you have the recipe for a beautifully-decorated, travel-inspired home! Have you ever tried this technique? Do you think you will, now? Do tell us your report! See a photo in these collages that you love and want to know to the article that goes with it? Leave a comment and I’ll send you the link to see more pretty pictures!
See more global art prompts here.

The author, Lillie Marshall, is a 6-foot-tall National Board Certified Teacher of English, fitness fan, and mother of two who has been a public school educator since 2003. She launched Around the World “L” Travel and Life Blog in 2009, and over 4.2 million readers have now visited this site. Lillie also runs TeachingTraveling.com and DrawingsOf.com. Subscribe to her monthly newsletter, and follow @WorldLillie on social media!

Stephanie
Thursday 12th of March 2020
Great ideas! I have been looking for things to do with all our travel photos! I have this pinned to come back for later.
Lillie Marshall
Friday 13th of March 2020
Excellent! I look forward to seeing your finished product!
April Yap
Thursday 21st of July 2016
Thanks for sharing this idea on making a photo collage of travel I very like it.
Stace Hamilton
Tuesday 30th of December 2014
These collages are so vibrant and pretty!! I have a photo collage in my room that I got from Marshalls and as I was putting the photos in the back pieces broke off and the glass on one frame broke. I should get one at a thrift store instead.
Lillie
Tuesday 30th of December 2014
Yes!
Rashaad
Monday 29th of December 2014
Thanks for the idea. Although my cameras have been mediocre (well, mediocre compared to ones used by other travel blog authors), I'm sure I could create a pretty good collage. My biggest concern would be finding the most suitable frame. I actually found a frame at a dollar store but it really didn't last long and it damaged (a little bit) a photo I treasure. Now that I think of, placing the photos in the frame might present a challenge.
Lillie
Monday 29th of December 2014
Yeah, the frames are a challenge and can pose risks to photos, which is why it's nice to have the "negatives" saved in the cloud and re-printable for cheap at any time!
JinPak
Wednesday 10th of December 2014
Wow!! The collage looks cool even without any borders or margins in the pictures framed.
Lillie
Friday 26th of December 2014
Thanks! I don't like to be hemmed in by margins. :)